Essential House Painting Supplies Every Homeowner Should Have
Reading time: 12 minutes
Ever stood in the paint aisle of your local hardware store, completely overwhelmed by the sheer number of brushes, rollers, primers, and tools staring back at you? You’re not alone. In 2026, the home improvement market in the United States alone is valued at over $485 billion, and a significant chunk of that spending goes toward DIY painting projects — many of which go sideways because homeowners simply didn’t have the right supplies.
Here’s the straight talk: a beautiful paint job isn’t just about choosing the right color. It’s about preparation, the right tools, and understanding what each supply actually does. Whether you’re freshening up a single bedroom or tackling your entire home’s exterior, having the essential supplies on hand transforms a frustrating weekend project into a satisfying, professional-looking result.
Let’s dive deep into exactly what you need — and why — so you can stop guessing and start painting with confidence.
Table of Contents
- Why the Right Supplies Make All the Difference
- Surface Preparation Essentials
- Primers and Paints: Choosing What Works
- Brushes, Rollers, and Application Tools
- Taping and Surface Protection Supplies
- Specialty Tools Worth Investing In
- Supply Investment: Where Your Money Goes Furthest
- Comparative Table: Key Painting Supplies at a Glance
- 3 Common Challenges and How to Overcome Them
- FAQs
- Your Painting Project Roadmap: Next Steps
Why the Right Supplies Make All the Difference
Think about this scenario: Sarah, a homeowner in Austin, Texas, decided in early 2025 to repaint her living room on a budget. She grabbed the cheapest brush she could find, skipped the primer, and used regular painter’s tape she’d had in a drawer for years. Three days later, she was re-doing the entire job — the paint peeled at the edges, the color was uneven, and she’d wasted two gallons of expensive paint. What went wrong? The supplies.
According to a 2025 survey by the Paint Quality Institute, nearly 62% of DIY painting failures are directly attributed to inadequate surface preparation or incorrect tool selection — not the paint itself. That statistic is staggering, and it underscores one fundamental truth: your supplies are the foundation of your project’s success.
The good news? Building a solid painting supply kit doesn’t require a contractor’s budget. With smart, targeted investments in the essentials, you can achieve results that genuinely rival professional work.
Surface Preparation Essentials
Professional painters will tell you this every time: 80% of a great paint job happens before you open the can. Surface preparation is non-negotiable, and these are the supplies that make it possible.
Cleaning and Degreasing Supplies
Paint simply will not adhere properly to a dirty, greasy, or dusty surface. Before any brush touches your wall, you need:
- Trisodium Phosphate (TSP) or TSP substitute: A powerful degreaser that removes kitchen grease, smoke residue, and general grime. Especially critical in kitchens and bathrooms.
- Sponges and scrub brushes: For physically working the cleaning solution into the surface.
- Drop cloths or plastic sheeting: To protect floors and furniture during the cleaning process itself.
- Buckets: At least two — one for soapy water, one for rinsing. Sounds simple, but many beginners work from a single bucket and end up smearing dirt back onto clean surfaces.
Pro Tip: In 2026, eco-friendly TSP alternatives have become significantly more effective and widely available. Brands like Krud Kutter and Simple Green now offer formulas that meet EPA environmental standards while still delivering strong degreasing performance — a win for your walls and the planet.
Sanding, Patching, and Filling
Walls are rarely as smooth as they appear. Light from different angles reveals imperfections that paint will only amplify. Your prep arsenal should include:
- Sandpaper assortment (80, 120, and 220 grit): Coarser grits for rough patches, finer grits for feathering and smoothing. For large areas, a sanding block or pole sander saves your arms considerably.
- Spackling compound or joint compound: For filling nail holes, small cracks, and minor dents. Lightweight spackling dries faster and sands easily — ideal for most interior repairs.
- Putty knife (3-inch and 6-inch): Essential for applying and feathering patching compounds. A flexible blade is better for feathering; a stiff blade is better for scraping.
- Caulk and caulking gun: For sealing gaps around trim, windows, and door frames. Paintable latex caulk is the go-to for interior work.
- Damp rags and tack cloths: For wiping away sanding dust before painting. Tack cloths are slightly sticky and pick up fine particles that regular cloths miss.
Primers and Paints: Choosing What Works
Here’s where many homeowners make costly mistakes. Not all primers are created equal, and not all paints suit every surface. Let’s break this down clearly.
Understanding Primer Types
Primer serves as the critical bonding layer between your surface and your paint. Using the wrong type — or skipping it entirely — leads to peeling, poor coverage, and color bleed-through.
- Water-based (latex) primer: The most versatile option for most interior walls. Fast-drying, low odor, and easy cleanup. Ideal for drywall, previously painted surfaces, and wood.
- Oil-based primer: Superior adhesion on bare wood, metal, and severely stained surfaces. Takes longer to dry (up to 24 hours) but provides an incredibly durable base.
- Shellac-based primer: The heavy-duty option for severe stains (smoke damage, water stains, marker). Nothing seals stains more effectively. Strong odor — ensure proper ventilation.
- Stain-blocking primer: A specialized product for covering water stains, rust marks, and bleed-through from dark colors. Worth every penny when you need it.
In 2026, paint-and-primer-in-one products have improved dramatically and are now genuinely effective on properly prepared surfaces in good condition. However, if you’re dealing with bare drywall, dramatic color changes, or stained surfaces, a dedicated primer is still the smarter choice.
Selecting the Right Paint Finish
Beyond color, the sheen level of your paint determines both aesthetics and durability:
- Flat/Matte: No sheen. Hides imperfections beautifully. Best for low-traffic areas like adult bedrooms and ceilings.
- Eggshell: Subtle, soft sheen. The most popular interior finish in 2026. Easy to clean, works in living rooms, hallways, and dining areas.
- Satin: Slightly more sheen than eggshell. Great for children’s rooms, family rooms, and areas with moderate traffic.
- Semi-gloss: Highly washable and moisture-resistant. Perfect for kitchens, bathrooms, and trim work.
- High-gloss: Maximum durability and sheen. Used primarily on doors, cabinets, and furniture.
Brushes, Rollers, and Application Tools
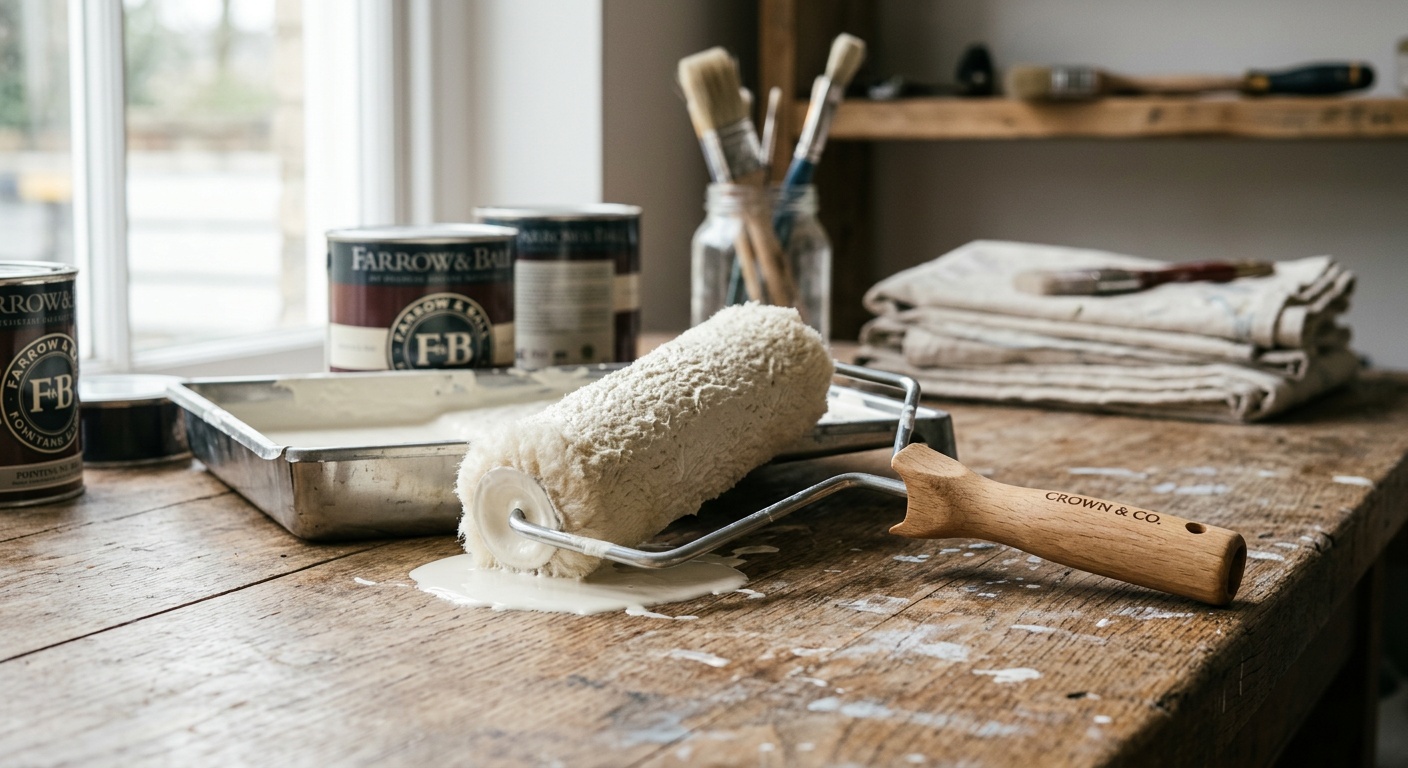
Your application tools are where the investment pays off most visibly. A cheap brush leaves bristle marks in your finished surface. A quality brush delivers a smooth, consistent coat every time.
Paintbrushes: What You Actually Need
- 2.5-inch angled sash brush: The workhorse of interior painting. Used for cutting in edges, painting trim, and working around windows and doors. Buy the best quality you can afford here.
- 3-inch flat brush: For broader strokes on trim, doors, and larger flat surfaces.
- 1-inch trim brush: For detailed work on narrow moldings, window mullions, and tight corners.
Bristle type matters: For water-based paints, use synthetic bristles (nylon or polyester). For oil-based paints, natural bristle brushes (China bristle) provide superior results.
Quick Scenario: Imagine you’re painting a Victorian-style home with elaborate crown molding. The difference between a $4 chip brush and a $18 Purdy angled brush will be immediately visible in the finished cut lines. This is not the place to economize.
Rollers and Roller Accessories
- 9-inch roller frame and covers: Standard for most wall and ceiling work. A sturdy metal frame is worth the extra cost — cheap frames flex and create uneven pressure.
- Roller nap thickness: 3/8-inch for smooth walls; 1/2-inch for light texture; 3/4-inch for heavy texture or masonry.
- Roller tray with liner: Disposable liners save considerable cleanup time.
- Extension pole: A 4-6 foot extension pole for your roller is one of the most underrated tools in painting. It allows you to maintain proper posture, apply consistent pressure, and reach ceilings without a ladder in many situations.
- Mini rollers (4-inch): Invaluable for painting behind radiators, between balusters, and in confined spaces.
Taping and Surface Protection Supplies
Protecting what you don’t want painted is just as important as applying paint correctly to what you do.
- Painter’s tape (blue or green): The non-negotiable standard. Removes cleanly without damaging surfaces and provides crisp paint lines. FrogTape and 3M ScotchBlue remain the gold standard in 2026.
- Canvas drop cloths: Heavier and more durable than plastic sheeting. They absorb drips rather than letting them slide, and they’re reusable for years. A 9×12 foot canvas cloth is the most versatile size.
- Plastic sheeting: For covering furniture and protecting large floor areas during spray application.
- Rosin paper: Excellent for protecting hardwood floors from foot traffic and drips during extended projects.
- Plastic wrap (stretch film): For wrapping door hardware, outlet covers, and light switch plates you can’t remove.
Specialty Tools Worth Investing In
Beyond the basics, several specialty tools elevate your results significantly:
- Paint edger: A pad-based tool with guide wheels that rolls along trim while painting the adjacent wall. Reduces the need for extensive taping.
- Paint sprayer: For large projects, exterior work, or cabinet painting. In 2026, HVLP (High Volume Low Pressure) sprayers for homeowners have become more affordable, with quality units starting around $80-$120.
- 5-in-1 painter’s tool: Opens cans, cleans rollers, scrapes surfaces, and fills nail holes. One of the most versatile tools in any painter’s kit.
- Paint mixer drill attachment: Properly mixed paint applies more evenly and maintains color consistency throughout the project.
- Bright work light or LED inspection light: Reveals surface imperfections before painting and helps identify missed spots during application.
- Respirator mask: For oil-based paints, primers, and exterior work. The disposable N95-style masks aren’t sufficient for solvent-based products — use a half-face respirator with organic vapor cartridges.
Supply Investment: Where Your Money Goes Furthest
Based on 2026 market data and professional painter recommendations, here’s how much impact each supply category has on your final result — and where smart spending matters most:
Impact on Final Paint Job Quality (Expert-Rated Score / 100)
92
85
78
71
58
Source: Paint Quality Institute & HomeAdvisor Pro Survey, 2025–2026
The data is clear: surface preparation and quality application tools outrank everything else in determining your final result. Invest here first before splurging on specialty gadgets.
Comparative Table: Key Painting Supplies at a Glance
| Supply | Avg. Cost (2026) | Reusable? | Priority Level | Best For |
|---|---|---|---|---|
| Angled Sash Brush (2.5″) | $12–$22 | Yes (if cleaned) | Essential | Cutting in edges, trim |
| 9″ Roller & Frame | $8–$25 | Frame: Yes; Cover: Partial | Essential | Large wall and ceiling areas |
| Painter’s Tape | $6–$14/roll | No | Essential | Edge protection, clean lines |
| Canvas Drop Cloth (9×12) | $18–$40 | Yes | Essential | Floor & furniture protection |
| HVLP Paint Sprayer | $80–$200 | Yes | Recommended | Cabinets, exteriors, large areas |
3 Common Challenges and How to Overcome Them
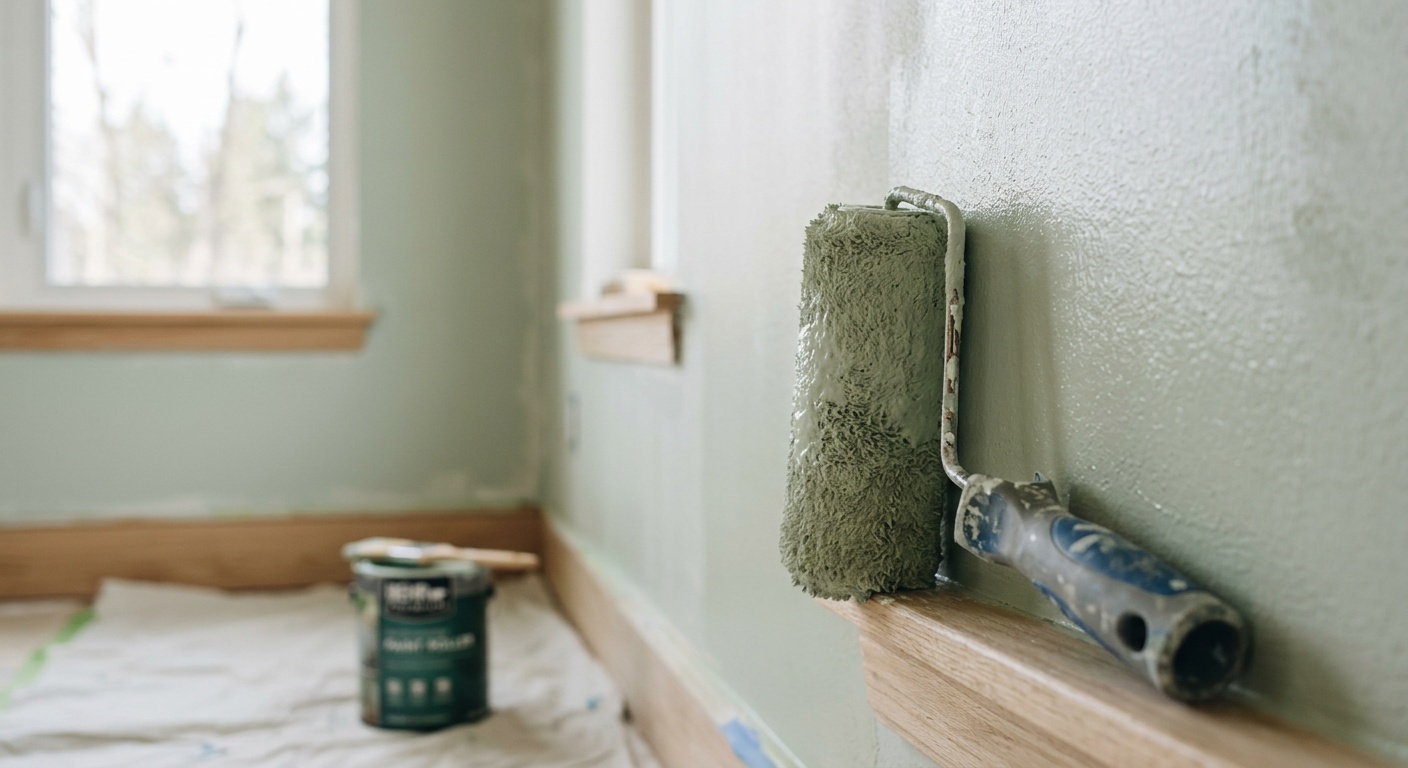
Challenge 1: Lap Marks and Uneven Coverage
The problem: You look at your finished wall and see lighter and darker bands where the roller passes overlapped and dried at different rates. This is one of the most frustrating painting outcomes for beginners.
The solution: Always maintain a wet edge. This means working systematically from one end of the wall to the other without stopping, and overlapping each roller pass by about 50% while the previous section is still wet. Load your roller consistently — not too dry, not dripping. An extension pole helps you maintain rhythm and speed. Also, avoid painting in direct sunlight or when temperatures exceed 90°F (32°C), as heat accelerates drying time and makes wet-edge maintenance nearly impossible.
Challenge 2: Paint Bleeding Under Tape
The problem: You peel back the painter’s tape to reveal a clean line — except the paint has bled underneath in multiple spots, leaving jagged edges that require touch-up work.
The solution: Two steps prevent this almost entirely. First, use a quality tape rated for the surface (FrogTape uses a patented PaintBlock technology that micro-seals the tape edge, dramatically reducing bleed-through). Second, after applying your tape, run a putty knife or credit card firmly along the tape edge to fully press it down. For an extra layer of insurance, apply a thin coat of the wall’s existing color first along the tape edge — this seals any gaps. When the new color goes on, it has no path underneath the tape.
Challenge 3: Brush Marks in the Finished Surface
The problem: Your cut-in sections look noticeably different from the rolled areas — filled with visible brush strokes that catch the light.
The solution: This usually comes down to three factors: brush quality, paint viscosity, and technique. Use a quality brush with flagged (split) tips that hold more paint. Thin your paint slightly if it feels thick — even just a tablespoon of water per gallon for latex paint can improve flow significantly. Finally, always finish your brush strokes by feathering (lifting the brush gradually at the end of each stroke rather than abruptly). And whenever possible, cut in and immediately roll the adjacent section while both are wet — this blends the two applications together naturally.
Frequently Asked Questions
Do I really need primer, or can I use a paint-and-primer-in-one product for all projects?
It depends entirely on your surface condition. For walls in good condition that are being repainted in a similar color, today’s high-quality paint-and-primer-in-one products — which have improved substantially by 2026 — are genuinely sufficient. However, for bare drywall, significant color changes (especially going from dark to light), water-stained surfaces, or glossy surfaces, a dedicated primer remains the right choice. Think of it this way: paint-and-primer-in-one products are excellent for maintenance painting, but dedicated primers are still essential for challenging surfaces or conditions.
How do I properly clean and store my brushes and rollers between uses?
For latex (water-based) paints, clean brushes immediately after use with warm soapy water, working the bristles under running water until it runs clear. Reshape the bristles and hang the brush to dry or lay it flat — never store it resting on the bristles. For roller covers, use a roller cleaner or spinner tool to remove excess paint, then wash with soap and water. If you’re continuing the project within 24 hours, wrapping brushes and rollers tightly in plastic wrap and refrigerating them keeps them usable without cleaning. For oil-based paints, use mineral spirits or paint thinner instead of water, and always dispose of solvent-soaked materials safely.
How much paint do I need for a typical room, and how do I calculate it accurately?
The standard formula is: measure the perimeter of the room, multiply by the ceiling height to get total square footage, then subtract approximately 20 square feet for each door and 15 square feet for each window. One gallon of paint typically covers 350–400 square feet with one coat. Divide your net square footage by 350 to determine gallons needed per coat. For most rooms, plan for two coats — especially when changing colors or using lighter colors over darker ones. It’s always worth buying a little extra: paint from the same batch matches perfectly, while a new can of the same color mix can sometimes vary slightly, which becomes visible on walls.
Your Painting Project Roadmap: Next Steps
You now have a comprehensive understanding of what it truly takes to tackle a house painting project with confidence. But knowing and doing are two different things. Here’s how to move from reading to rolling:
- Step 1 — Assess your surfaces: Before buying a single supply, walk through your space in good lighting and honestly evaluate what you’re working with. Fresh drywall? Stained walls? Glossy trim? Your surface condition determines your supply list.
- Step 2 — Build your core kit: Prioritize quality brushes, a reliable roller setup, canvas drop cloths, and premium painter’s tape. These investments pay dividends across every future project.
- Step 3 — Select the right primer: Don’t skip this step. Match your primer to your surface condition using the guidance above, and you’ll halve your paint consumption while doubling your finish quality.
- Step 4 — Prepare obsessively: Clean, patch, sand, and tape before you open the paint can. Remember: 80% of the job happens before the brush touches the wall.
- Step 5 — Start small, build confidence: If this is your first major project, start with a bathroom or small bedroom. The skills transfer to every room — and every success makes the next project more enjoyable.
In 2026 and beyond, the trend toward personalized, high-quality home environments continues to accelerate. With remote and hybrid work remaining the norm for millions of households, the spaces where we live and work matter more than ever — and a fresh, professionally executed paint job remains one of the highest-return home improvement investments you can make, averaging an $107 return for every $100 spent according to the 2025 Remodeling Impact Report.
Here’s the real question to sit with: Which room in your home has been quietly waiting for a transformation you’ve been putting off? With the right supplies in hand and a clear plan in place, that transformation is closer — and far more achievable — than you might think. Your walls are ready when you are.